Slope soaring is one of the most exciting and rewarding ways to fly RC gliders — and surprisingly, it can be easier than thermal flying once you understand the basics.
In this beginner guide, you’ll learn what slope soaring is, how it works, what kind of glider you need, and how to stay safe while enjoying long, motor-free flights.
What Is Slope Soaring?
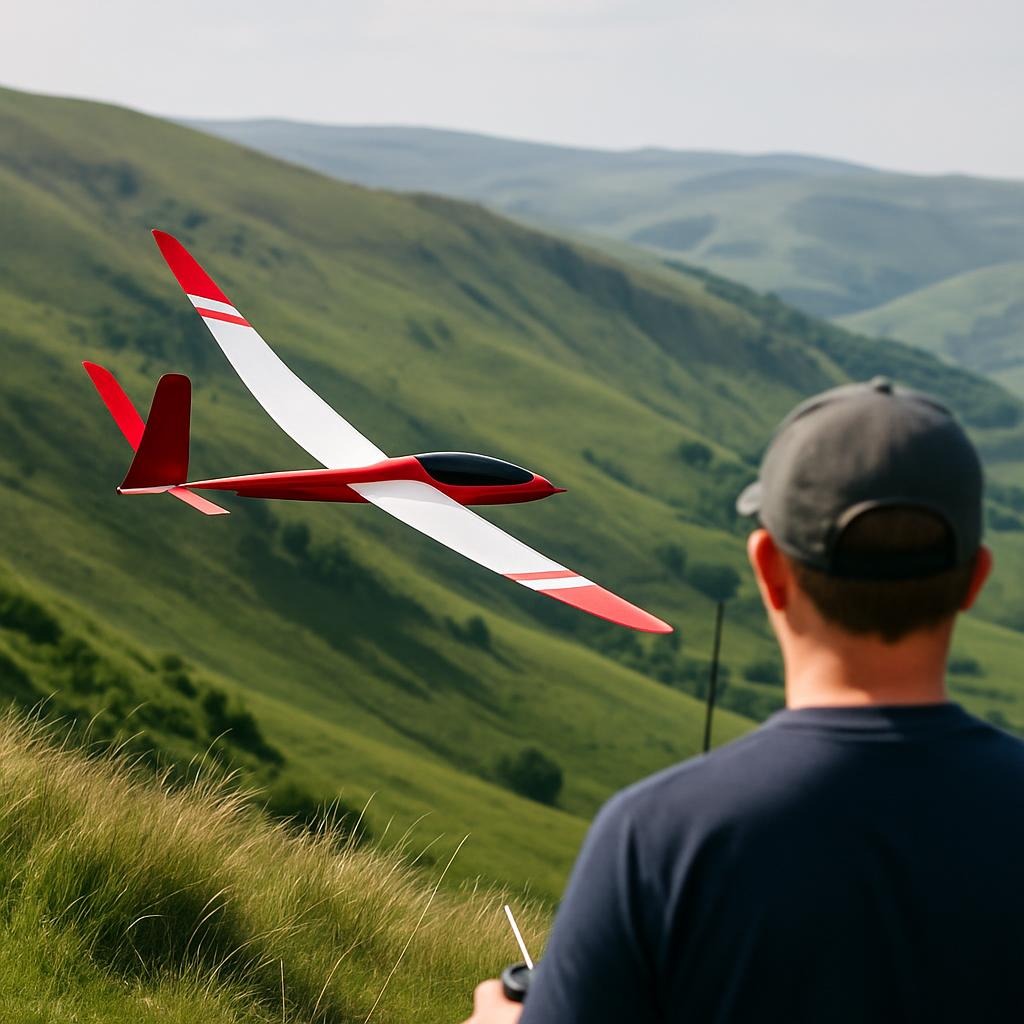
Slope soaring uses wind blowing up a hill, ridge, or cliff to create lift. When wind hits a slope, it is forced upward, forming a rising air mass that a glider can ride — sometimes for hours.
Unlike thermal soaring:
- No searching for lift
- No motor required
- Lift stays in one predictable place
If the wind is right, slope soaring can feel almost effortless.
Why Slope Soaring Is Great for Beginners
Slope soaring is beginner-friendly because:
- Lift is consistent and predictable
- No motor management required
- Launches are simple
- Flights are long, slow, and controlled
- You can land easily by flying away from the lift
Many pilots learn smooth control and energy management faster on the slope than anywhere else.
What Conditions Are Needed for Slope Soaring?
Wind Direction (Most Important)
- Wind should blow directly toward the slope
- Even a small angle off can reduce lift dramatically
Wind Speed
- Ideal beginner range: 6–12 mph
- Too light → weak lift
- Too strong → difficult launches and fast flying
Slope Type
Good beginner slopes:
- Smooth grassy hills
- Coastal cliffs (with safe access)
- Long ridges with clear landing areas
Avoid:
- Turbulent terrain
- Trees near the lift zone
- Urban areas
What Kind of RC Glider Works Best?
Best Beginner Slope Soaring Gliders
- Foam construction (durable)
- Moderate wingspan (1.5–2.5m)
- Strong wings
- 3–4 channel control
Electric gliders work fine — just don’t use the motor.
👉 Many pilots simply remove or disable the motor for slope flying.
Basic Slope Soaring Launch Technique
- Power off (no throttle)
- Face directly into the wind
- Hold glider level or slightly nose-down
- Firm, smooth forward push
- Let the glider fly — don’t yank elevator
🟢 Tip: If the glider sinks, step forward into stronger lift rather than pulling up.
How to Stay in the Lift Band
The lift zone is usually:
- 10–50 feet in front of the slope
- Slightly above the slope face
Fly:
- Smooth back-and-forth passes
- Gentle turns
- Constant awareness of wind direction
If you drift too far back, you’ll lose lift quickly.
Landing a Slope Soaring Glider
Landing is simple:
- Turn away from the slope
- Fly downwind to lose lift
- Descend normally
- Land in a clear area behind the slope
This is one reason slope soaring is safer for beginners than thermals.
Safety Tips for Beginners
- Never stand directly on cliff edges
- Keep clear of pedestrians and hikers
- Fly predictable patterns
- Yield to full-size paragliders or hang gliders
- Watch for sudden wind changes
Common Beginner Mistakes
- Flying too close to the slope
- Pulling elevator instead of repositioning
- Launching in turbulent wind
- Standing in rotor (downwind turbulence)
- Overcontrolling turns
Slope Soaring vs Thermal Soaring (Beginner View)
| Feature | Slope Soaring | Thermal Soaring |
|---|---|---|
| Lift predictability | High | Low |
| Motor required | No | Often |
| Learning curve | Easier | Harder |
| Flight duration | Long | Variable |
Related Beginner Guides
- How to Launch an RC Glider Safely
- RC Glider Control Surfaces Explained
- Wind Conditions Explained for RC Gliders
- RC Glider Preflight Checklist
Final Thoughts
Slope soaring teaches smooth flying, patience, and energy management — skills that transfer to every other type of RC gliding.
If you have access to the right slope and wind, it’s one of the most enjoyable ways to fly an RC glider — even for complete beginners.